 Save to Pinterest
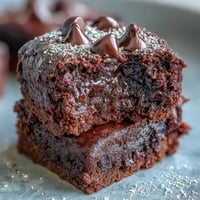
 I discovered mug cakes by accident on a Tuesday night when I was convinced I had nothing in the kitchen except Oreos and regret. Ten minutes later, I was pulling a warm, gooey chocolate cake out of the microwave, and honestly, it tasted better than half the desserts I've labored over for hours. There's something almost magical about watching cookie crumbs transform into actual cake right before your eyes, especially when you're armed with nothing but a fork and a mug.
My roommate walked into the kitchen to find me hovering over the microwave like it held the secrets of the universe, watching cake rise through the window. When it dinged, I ate it straight from the mug while standing at the counter, and she asked what smelled so good. I handed her a fork, and we split it right there, both of us amazed that something this indulgent took less time than deciding what to watch.
Ingredients
- Oreo cookies: Four of them—crushed into the base of everything, they provide chocolate flavor, moisture, and a hint of that iconic cookie structure that keeps things interesting.
- Milk: Three tablespoons soften the cookies into a paste and keep the cake from turning into a brick in the microwave.
- All-purpose flour: Two tablespoons give structure without making it dense; don't skip this or you'll end up with a gritty puddle.
- Granulated sugar: One tablespoon optional because Oreos are already sweet, but add it if you're in the mood for extra indulgence.
- Baking powder: A quarter teaspoon is your insurance policy against a collapsed cake; it lifts things just enough.
- Egg: One small one binds everything together and gives you that tender crumb.
- Vanilla extract: Half a teaspoon optional but worth it for a warmth that rounds out the chocolate.
Tired of Takeout? 🥡
Get 10 meals you can make faster than delivery arrives. Seriously.
One email. No spam. Unsubscribe anytime.
Instructions
- Crush your Oreos:
- Place them in your mug and go at them with a fork until they look like wet sand. Don't be gentle—the smaller the pieces, the faster they'll soften when milk hits them.
- Soak and mix:
- Pour in the milk and stir until you've got a thick, paste-like consistency with no dry crumbs left behind. This is your chocolate base, so make sure it's thoroughly combined.
- Build the batter:
- Add the flour, sugar, and baking powder, stirring until there are no visible dry spots. The mixture should look like actual cake batter now, not cookie mush.
- Add the binding:
- Crack in your egg and vanilla, then mix until the batter is completely smooth and uniform. You're looking for something that could pass as batter you'd pour into a regular cake pan.
- The moment of truth:
- Microwave on high for 1 minute 30 seconds, then check by poking the top gently—it should spring back slightly but still feel a bit moist. If it seems too liquid, give it another 10 to 20 seconds.
- Rest and enjoy:
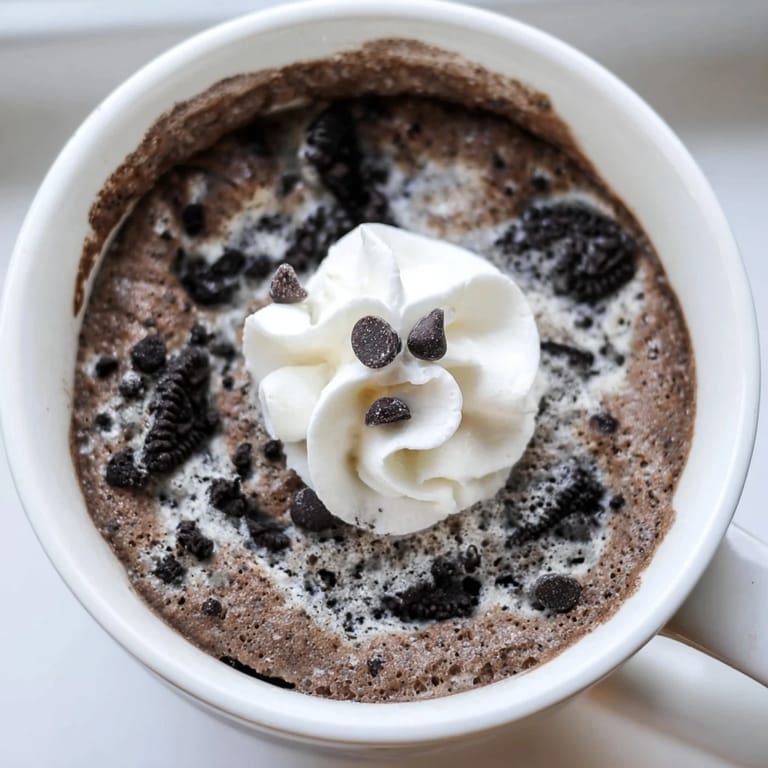
- Let it cool for a minute or two so you don't burn your tongue, then grab a spoon and eat it right from the mug. This is not a moment for plating.
 Save to Pinterest
 There was a night when a friend showed up unannounced, heartbroken and needing distraction, so I made this in the microwave while we talked. Watching her face when she realized warm cake had appeared out of nowhere in five minutes—that's when I understood this recipe wasn't just about speed, it was about care in its simplest form.
Why This Works in a Microwave
Microwaves cook by agitation rather than heat, which means your cake rises and sets fast without developing a tough crust. The Oreos and milk create a naturally moist batter that doesn't dry out in that short burst of radiation—it actually stays tender. The small volume means heat distributes evenly, so you avoid the burnt edges and raw center problem you get with full-sized cakes.
The Oreo Question
People ask if you can use different cookies, and technically yes, but there's something specific about Oreos that works here. Their cocoa-sugar ratio, the way they soften into a paste, the slight bitterness that keeps the whole thing from cloying—it's worth sticking with the original. If you're avoiding certain ingredients for dietary reasons, check the packaging because Oreos contain soy and sometimes trace nuts, and they're not gluten-free in their standard form.
Toppings and Variations
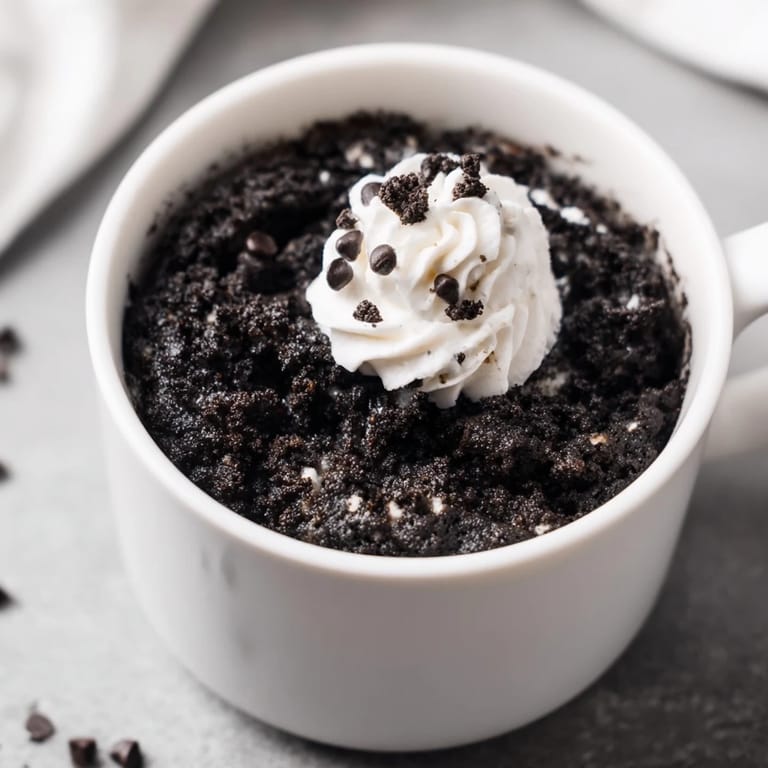
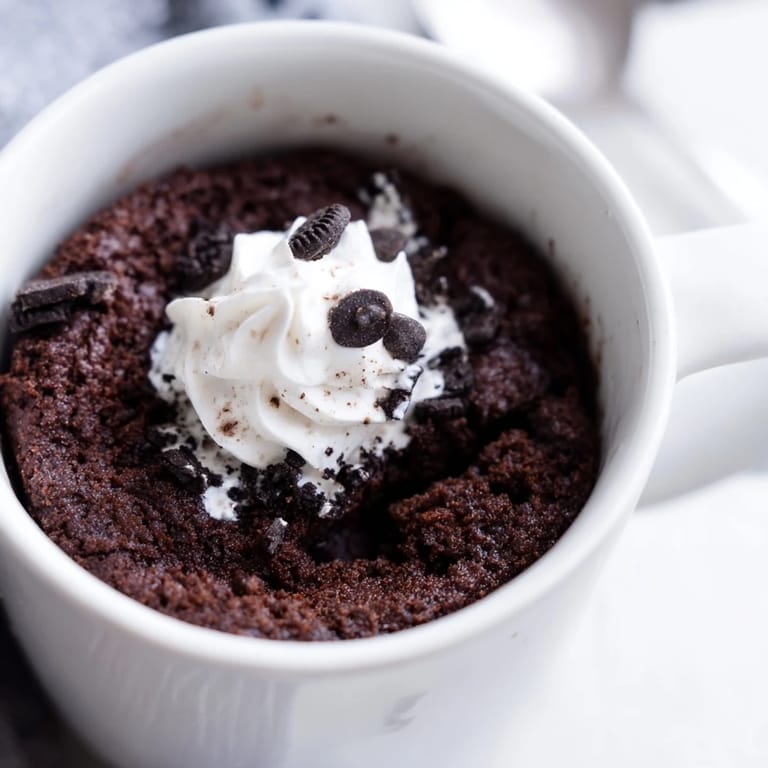
The beautiful thing about mug cakes is they're a blank canvas for whatever you're craving in that exact moment. Whipped cream melting into warm cake is decadence. A scoop of vanilla ice cream is chaos in the best way. Chocolate chips stirred in at the end, sprinkles of sea salt, a drizzle of caramel—it all works because the base is so solid and simple that it welcomes company.
- If you want extra richness, add a tablespoon of melted chocolate or peanut butter to the batter before microwaving.
- Substitute self-rising flour for the flour and baking powder if that's what you have, and reduce the milk slightly because self-rising flour contains moisture.
- Let it cool completely and eat it cold the next day if you somehow don't finish it—it's still good, just different, like a fudgy brownie.
 Save to Pinterest
 This recipe proved to me that the best desserts aren't always the ones that take hours and dirty every pan in your kitchen. Sometimes they're the ones that appear in five minutes when you need them most.
Recipe FAQs
- → Can I use different cookies instead of Oreos?
Yes, you can substitute with other chocolate sandwich cookies, but the flavor and texture may vary.
- → How do I know when the mug cake is done?
The cake should be set but still moist to the touch. If unsure, microwave in short intervals until properly cooked.
- → Can I make this dessert dairy-free?
Yes, by using plant-based milk alternatives and ensuring the cookie choice aligns with dairy-free needs.
- → Is it possible to add toppings?
Absolutely, toppings like whipped cream, chocolate chips, or ice cream enhance flavor and texture.
- → What equipment is needed to prepare this dessert?
A microwave-safe mug and a fork or whisk to crush and mix ingredients are all that's required.