 Save to Pinterest
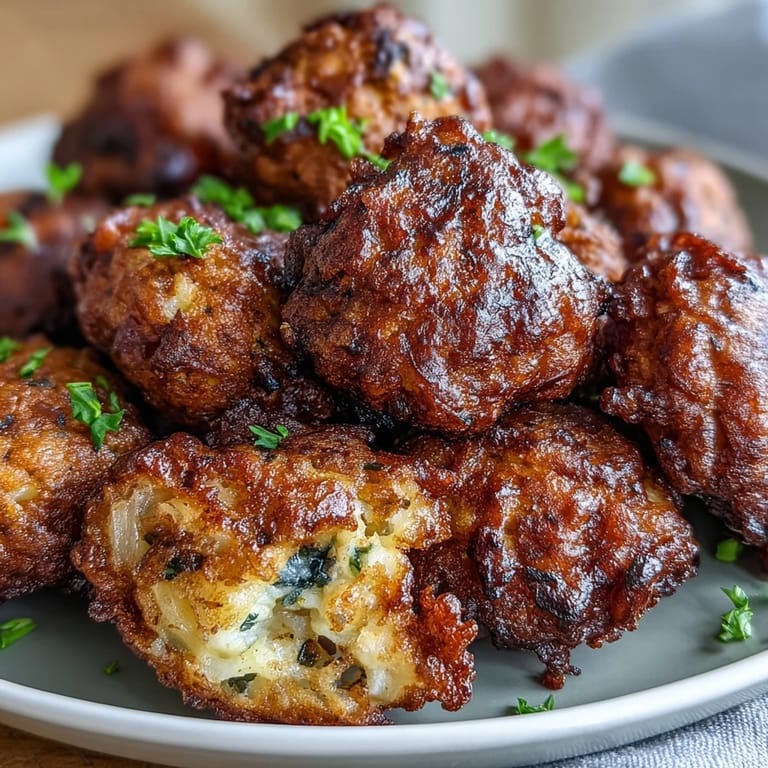
 My neighbor knocked on the door one Saturday afternoon with a container of these golden fritters still warm from her skillet, and I was hooked from the first bite. There's something about the way the outside shatters between your teeth while the inside stays soft and subtly spiced that makes you reach for another before you've finished the first. She told me they were a family recipe passed down from her grandmother, who learned them from both Southern and West African traditions. I asked for the method right there in the doorway, and she laughed, saying most people overthink them—really, it's just mashed peas, a few aromatics, and the courage to fry them golden. Now they're my go-to when I want something that feels both comforting and a little bit special.
I brought a batch to a potluck last spring, nervous that they'd seem too simple among all the elaborate dishes. Within 10 minutes, they were gone, and three people asked me for the recipe—one woman said they reminded her of something her mother made, though she couldn't quite remember the name. That moment taught me that honest food doesn't need to be complicated to make people feel something. When you cook from basics and season with intention, people taste the care.
Ingredients
- Black-eyed peas, cooked: Use canned if fresh isn't available, but drain and rinse them well to avoid a gummy texture—the beans should hold their shape even when mashed, not turn to paste.
- Small onion, finely chopped: The size matters here because you want it to disappear into the batter and release its sweetness without overpowering the earthy peas.
- Garlic, minced: Two cloves give warmth without shouting; use fresh garlic, not powder, because it brightens the whole fritter.
- Fresh parsley or cilantro: Optional but worth including—it adds a fresh note that keeps these from tasting one-dimensional.
- Large eggs: These are your binder, holding everything together so the fritters stay intact in the oil without becoming dense.
- All-purpose flour: Just enough to bind and help them crisp up; too much makes them heavy and cake-like.
- Salt and black pepper: Standard foundations, but taste as you go because the peas can vary in saltiness.
- Smoked paprika and cayenne: Both optional, but smoked paprika adds a subtle depth and cayenne gives a gentle warmth that builds on the back end.
- Vegetable oil for frying: Use something neutral with a high smoke point; peanut or canola oil works beautifully.
Tired of Takeout? 🥡
Get 10 meals you can make faster than delivery arrives. Seriously.
One email. No spam. Unsubscribe anytime.
Instructions
- Mash with purpose:
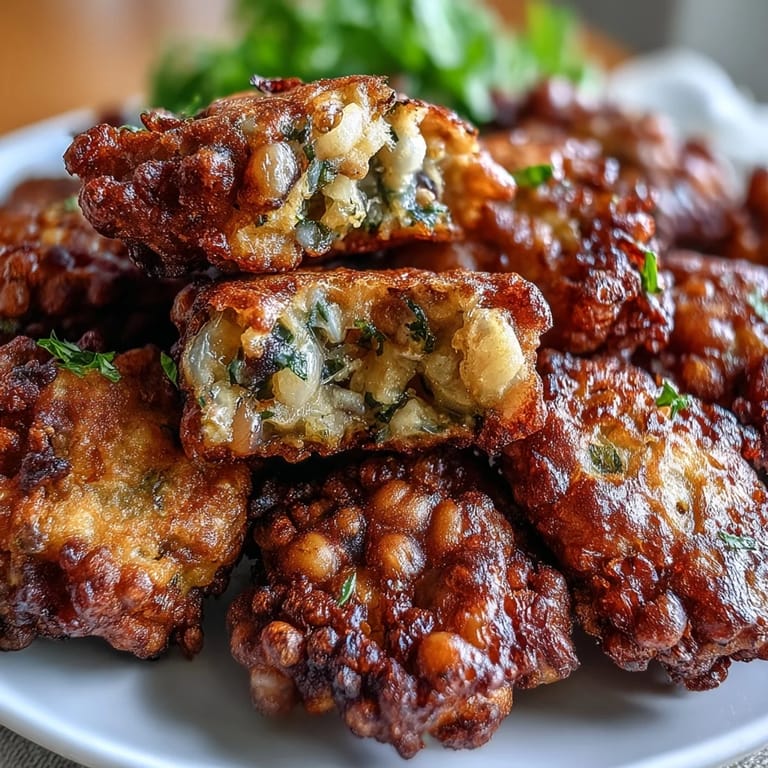
- Pour your drained peas into a large bowl and use a fork or potato masher to break them down—you want mostly smooth with a few whole beans peeking through for texture. This takes about a minute if you work steadily, and you'll feel when the consistency is right.
- Mix the batter:
- Add the onion, garlic, herbs, eggs, flour, and all your seasonings to the mashed peas and stir until everything is evenly combined into a thick, cohesive batter. It should hold together when you scoop it but still be loose enough to drop into hot oil.
- Heat the oil:
- Pour about half an inch of oil into your skillet and set it over medium heat for about 3 minutes—the oil is ready when a tiny piece of batter sizzles and floats immediately to the surface. Don't skip this step; cold oil will absorb into the fritters instead of crisping them.
- Fry in batches:
- Using a spoon or small ice cream scoop, drop heaping tablespoons of batter into the hot oil, leaving space between each fritter so they can cook evenly. Gently flatten each one slightly with the back of your spoon so they cook through without burning.
- Cook until golden:
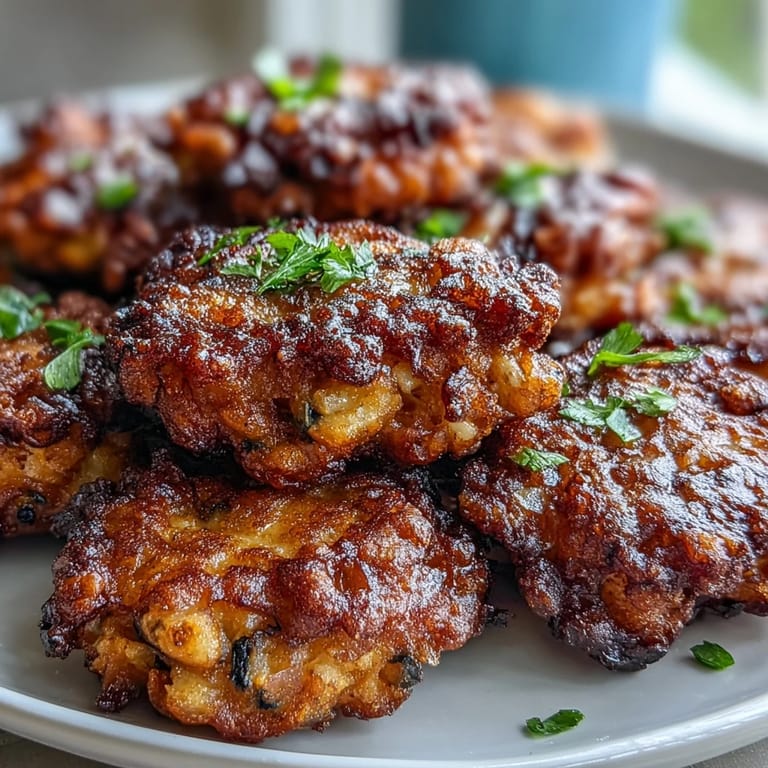
- Let them fry for 2 to 3 minutes on the first side until the bottom is deep golden, then flip carefully and cook another 2 to 3 minutes until the second side matches. You'll know they're done when they look like little round coins of amber.
- Drain and serve:
- Use a slotted spoon to transfer the hot fritters to a paper towel-lined plate where they'll finish crisping as they cool slightly. Serve them warm with your favorite sauce on the side for dipping.
 Save to Pinterest
 My brother grabbed one of these straight from the paper towels last week, burned his mouth because he couldn't wait, and said it was worth it. In that moment, with him laughing and reaching for a cold drink, I understood why people keep coming back for seconds—it's not just food, it's that instant gratification of something hot, crispy, and made with care.
Variations and Flavor Twists
These fritters are a blank canvas for your spice cabinet and what's already in your kitchen. I've made them with a pinch of cumin for earthiness, added finely diced jalapeño for heat, and once threw in some grated zucchini when I had some that needed using—they all worked beautifully. The foundation is so solid that you can play around without worrying you'll ruin them, which makes them perfect for experimenting on a weeknight.
Dipping Sauces That Make the Difference
Plain, these fritters are wonderful, but the right sauce takes them somewhere else entirely. A simple yogurt mixed with lime juice and fresh herbs is my default, but hot sauce straight from the bottle works if you're in a rush, and mango chutney brings a sweet-spicy complexity that people always comment on. I've also done a quick garlic aioli when I'm feeling fancy, though honestly the fritters don't need much help.
Storage and Make-Ahead Tips
These are best served fresh and hot, but you can make the batter up to a day ahead—just cover it and keep it in the fridge, then fry when you're ready. If you end up with leftovers, they reheat nicely in a 375-degree oven for about 5 minutes and regain their crispness without drying out. The batter itself doesn't freeze well because of the eggs, but the cooked fritters can be frozen and thawed gently before reheating.
- Make the batter in the morning and fry in the evening for a low-stress appetizer that tastes fresh.
- Reheat leftovers in the oven rather than the microwave to keep them crispy.
- Double the batch if you're serving guests—they disappear faster than you'd expect.
 Save to Pinterest
 These black-eyed pea fritters have become my secret weapon for impressing people with minimal effort, and more importantly, they've become something I make just for myself on quiet afternoons. There's real joy in that kind of cooking—when you know a dish well enough that it feels like meditation rather than work.
Recipe FAQs
- → Can I use canned black-eyed peas?
Yes, canned black-eyed peas work perfectly. Just drain and rinse them thoroughly before mashing. You'll need about two 15-ounce cans to equal 2 cups of cooked peas.
- → How do I keep fritters crispy?
Place cooked fritters on a wire rack over a baking sheet in a 200°F oven while frying remaining batches. This keeps them warm and maintains their crispy texture without getting soggy.
- → Can I bake these instead of frying?
Yes, brush a baking sheet with oil and place formed patties on it. Bake at 400°F for 10-12 minutes per side until golden and crispy. They won't be quite as crunchy as fried versions.
- → What dipping sauces work best?
These fritters pair wonderfully with spicy hot sauce, cool yogurt dip with herbs, sweet mango chutney, or even a simple remoulade. The contrast between crispy exterior and smooth dip is delightful.
- → Can I freeze uncooked fritter batter?
Yes, scoop the batter onto a parchment-lined baking sheet and freeze until solid. Transfer frozen patties to a freezer bag. Fry from frozen, adding 1-2 extra minutes per side.
- → How can I make these gluten-free?
Substitute the all-purpose flour with chickpea flour or a gluten-free flour blend. Ensure all other ingredients, including spices, are certified gluten-free if needed.