 Save to Pinterest
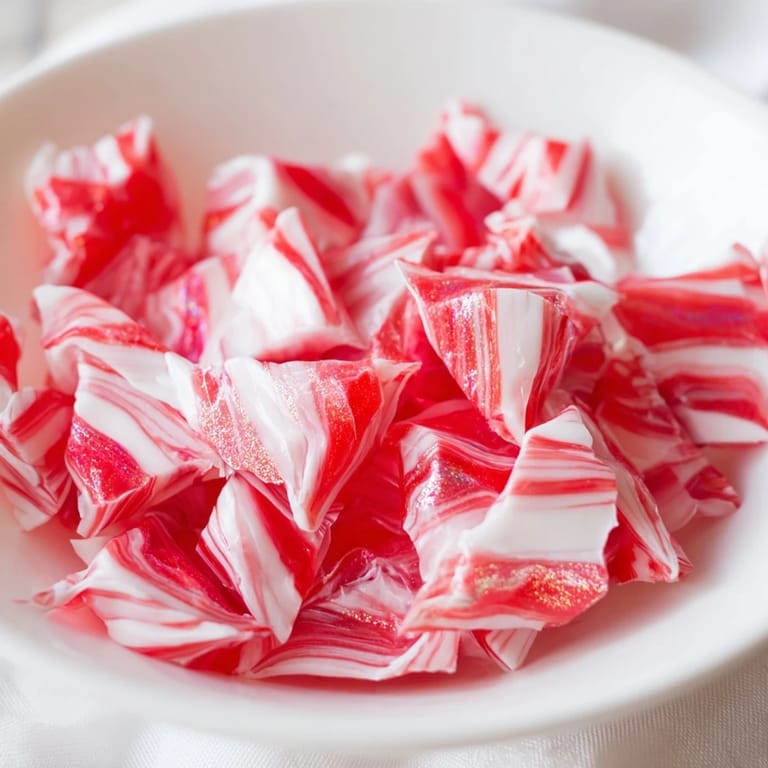
 Celebrate the holiday season with a delightful and creative twist by crafting your own no-bake peppermint candy bowl. This festive project is not only fun and easy to make, but it also results in a charming edible creation perfect for gifting or serving your favorite wrapped treats. With just a handful of peppermint candies and a few simple tools, you can create a sparkling candy bowl that brings both sweetness and holiday cheer to any table.
Save to Pinterest This peppermint candy bowl combines creativity and function in a way that transforms simple candies into festive art. The glossy red and white swirls melt into one seamless sheet, which you then mold into a charming bowl shape. Customize it further with edible glitter or sprinkles for extra sparkle and personality before it fully hardens. Your guests will be impressed by this sweet centerpiece that also holds holiday treats!
Ingredients
Tired of Takeout? 🥡
Get 10 meals you can make faster than delivery arrives. Seriously.
One email. No spam. Unsubscribe anytime.
- 30–40 peppermint hard candies (unwrapped)
- Edible glitter or sprinkles (optional, for added flair)
Instructions
- Preheat Oven
- Preheat your oven to 300°F (150°C).
- Prepare Tray
- Line a baking tray with parchment paper or a silicone baking mat.
- Arrange Candies
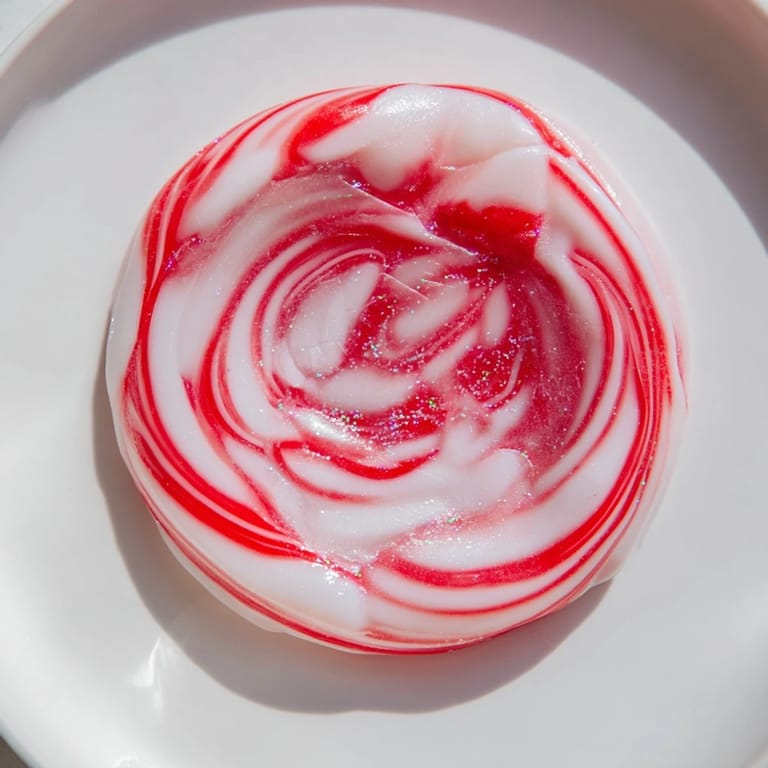
- Arrange the peppermint candies in a tightly packed circle (about 7–8 candies wide) on the tray. Ensure candies touch to melt together.
- Bake Candies
- Bake for 8–10 minutes, watching closely. Remove as soon as candies melt into one flat sheet—do not let them brown.
- Mold Bowl
- Let melted candies cool for 30 seconds, then carefully lift the parchment with candy disk using oven mitts and drape over the bottom of a heat-safe bowl. Gently press to form the bowl shape.
- Harden Candy
- Allow the candy to cool and harden completely (about 10–15 minutes).
- Remove Bowl
- Once set, gently remove the peppermint candy bowl from the mold.
- Decorate
- Optionally, decorate with edible glitter or sprinkles before the candy fully hardens. Fill with wrapped treats or use as a festive serving bowl.
Zusatztipps für die Zubereitung
Be sure to monitor the candies carefully while baking to prevent browning, which can change the flavor and texture. Use oven mitts when handling the hot candy disk to avoid burns. Press gently when molding the bowl to avoid cracks. Allow sufficient cooling time for the bowl to harden fully before attempting to remove or fill it.
Varianten und Anpassungen
Experiment with different flavors such as butterscotch or fruit-flavored hard candies to create colorful and unique bowls. For a larger bowl, increase the number of candies and use a bigger mold or bowl shape to drape the candy over. Add edible glitter or festive sprinkles to enhance the look before the candy hardens.
Serviervorschläge
Use your peppermint candy bowl to serve only dry, wrapped treats to prevent moisture from softening the candy. It makes a lovely holiday centerpiece or gift. Store the bowl in a cool, dry place to keep it intact and prevent melting or stickiness. It's an eye-catching way to present candies, chocolates, or other small goodies during the festive season.
 Save to Pinterest
 With this no-bake peppermint candy bowl, you bring a splash of festive creativity and sweetness to your holiday gatherings. Whether gifted or used as a conversation-starting serving bowl, this simple edible craft is guaranteed to delight and impress. Enjoy crafting your shimmering candy masterpiece and the smiles it brings!
Recipe FAQs
- → What type of candies work best for this craft?
Hard peppermint candies are ideal as they melt into a smooth, moldable layer that holds shape well.
- → Can I use other candy flavors or colors?
Yes, but ensure the candies are hard and melt smoothly. Butterscotch or fruit-flavored hard candies offer colorful alternatives.
- → How do I prevent the candy bowl from sticking to the mold?
Use a heat-safe bowl and carefully lift the warm candy sheet over it promptly, then let it cool completely to set.
- → Is it safe to place food directly inside the peppermint bowl?
Only place dry, wrapped treats inside to avoid moisture which can cause the candy to become sticky or melt.
- → How should the candy bowl be stored to maintain its shape?
Store in a cool, dry environment away from humidity and heat sources to keep it firm and prevent melting.
- → Can I decorate the bowl for extra flair?
Absolutely. Edible glitter or sprinkles can be added while the candy is still slightly warm to create a festive look.