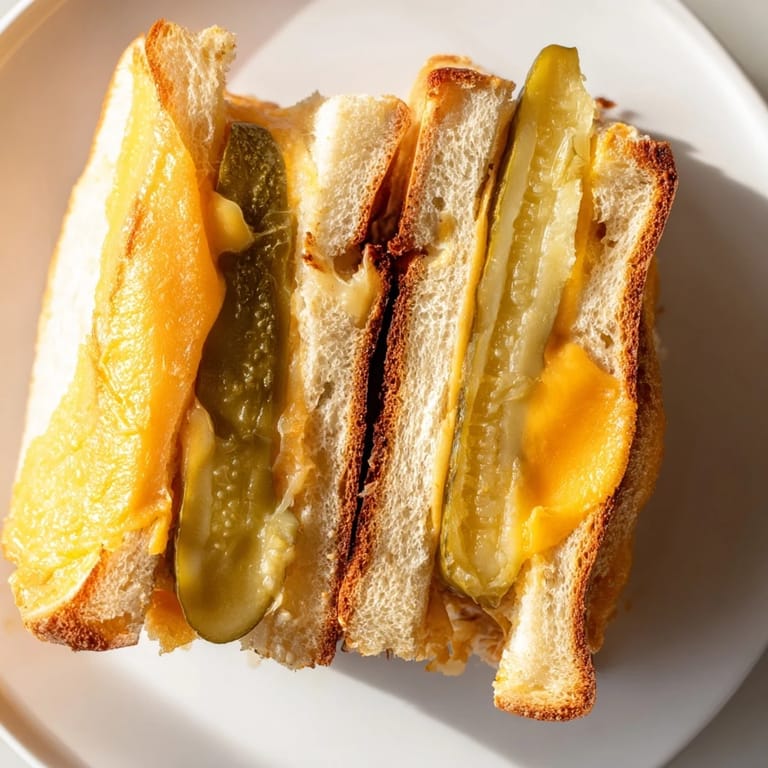
 Save to Pinterest
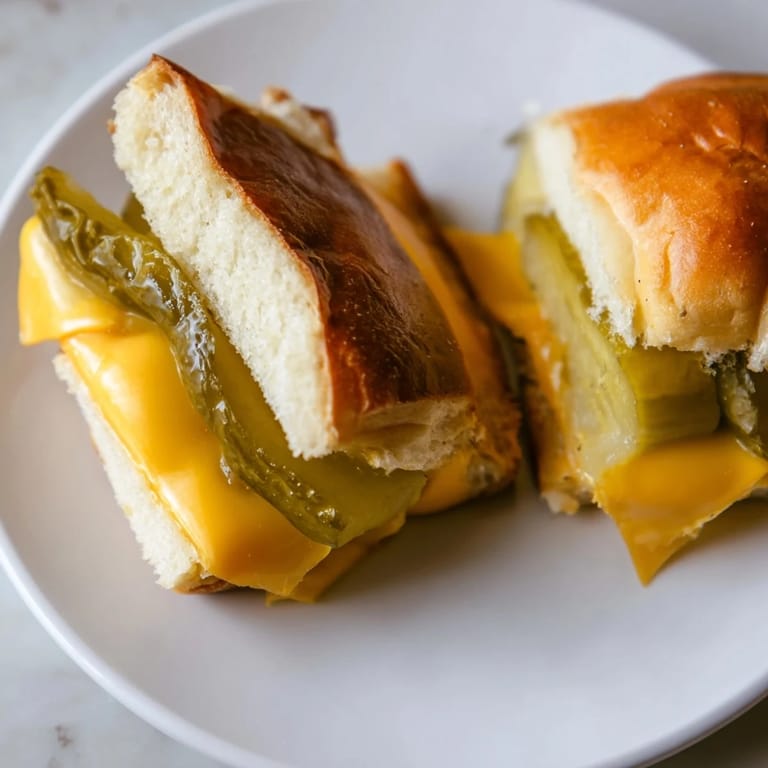
 I stumbled onto this sandwich by accident one afternoon when I was rummaging through the fridge, staring at a block of sharp cheddar and a jar of pickles, wondering if they could possibly work together as bread. The crispy cheese bun idea seemed wild at first, but the moment I pulled that golden, bubbly creation from the oven, I knew I'd found something special. What started as kitchen curiosity turned into my favorite low-carb lunch, and now I can't imagine a sandwich any other way.
My partner walked into the kitchen while these were baking and the smell of melting cheddar mixed with dill pickle made them stop mid-conversation. We both stood there watching them bubble through the oven window, grinning like we'd discovered a secret menu item. Now whenever I make these, they're the first thing people ask me to bring to lunch.
Ingredients
- Sharp Cheddar Cheese (8 slices, ¼ inch thick): The foundation of everything—sharp cheddar holds up to the pickles and gets gloriously bubbly without separating, so don't skimp on quality or thickness here.
- Sandwich Pickle Slices (12–14 slices): Long dill pickles drained and patted completely dry are non-negotiable; any moisture steams the cheese rather than crisping it.
- Mayonnaise (2 tablespoons, optional): A cooling, creamy contrast that makes each bite feel fuller and more luxurious.
- Dijon Mustard (2 teaspoons, optional): Just enough tang to echo the pickle without overpowering the cheese.
- Tomato Slices (2 slices, optional): Adds freshness and texture if you want a garden-fresh element inside.
- Deli Turkey or Ham (4 slices, optional): Brings savory depth and makes it feel like an actual sandwich, though it's equally delicious without.
- Nonstick Cooking Spray or Parchment Paper: Prevents sticking and saves cleanup; parchment is worth the tiny extra effort.
Tired of Takeout? 🥡
Get 10 meals you can make faster than delivery arrives. Seriously.
One email. No spam. Unsubscribe anytime.
Instructions
- Heat Your Oven and Prep:
- Preheat to 400°F and line your baking sheet with parchment paper or give it a light spray; this keeps the cheese from welding itself to the pan and ruining everything.
- Build the Foundation:
- Arrange 4 cheddar slices with some breathing room between them, then lay pickle slices in a single overlapping layer on each one, covering most of the cheese but leaving a tiny border so the cheese can melt outward.
- Create the Sandwich:
- Top each pickle-covered slice with another cheddar slice and press down gently—this is where the magic happens.
- Bake Until Golden:
- Slide into the oven for 7–8 minutes, watching for bubbly edges and a light golden color; the cheese should look glossy and feel slightly firm at the edges but still soft in the center.
- Rest and Cool:
- Pull them out and let them sit for 5 minutes; this cooling period lets the cheese set just enough to hold together without being brittle, making them easy to handle.
- Add Your Fillings:
- If using mayo, mustard, tomato, or meat, spread or layer them onto the inside of the cheese buns while they're still warm so flavors meld together.
- Assemble and Serve:
- Sandwich your fillings between two cheese-pickle buns and eat immediately while the cheese still has that satisfying crispness.
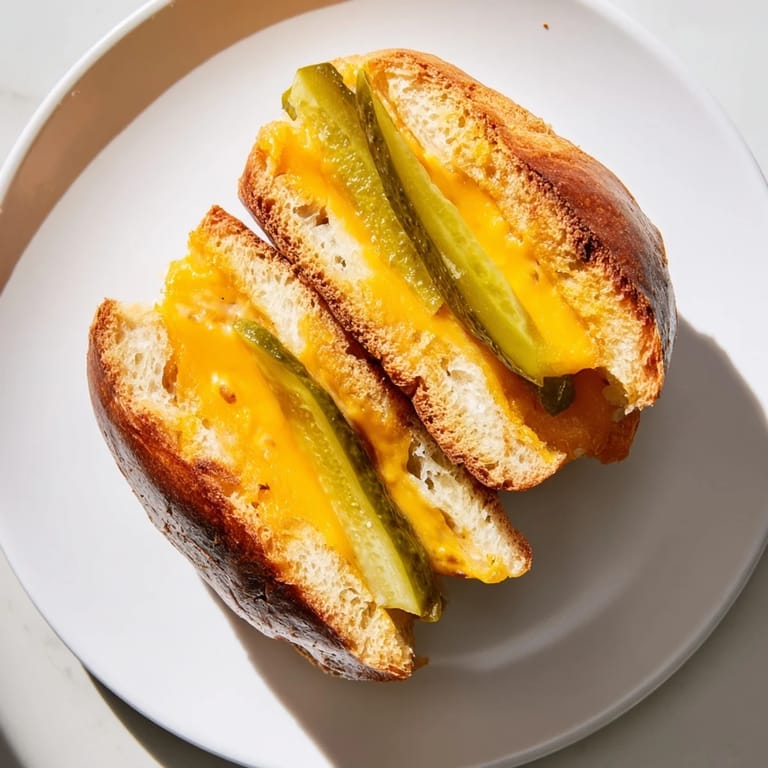
 Save to Pinterest
 There's a moment right after pulling these from the oven when the cheese is still crackling and warm, the pickle aroma is at its peak, and you realize you've made something that tastes like it took way more effort than it actually did. That feeling of accomplishment mixed with the genuine deliciousness—that's when this sandwich stopped being an experiment and became a keeper.
Why This Works Better Than Regular Bread
Traditional bread soaks up moisture and disappears into the background, but these cheese buns demand attention. They stay crispy, they add genuine flavor, and they keep your carb count in check without any of that dense, bouncy texture that low-carb breads sometimes have. Plus, there's something deeply satisfying about eating a sandwich where the foundation is just as interesting as the filling.
Flavor Combinations Worth Trying
Once you nail the basic cheese and pickle version, the possibilities expand quickly. I've tested Swiss cheese with dill pickles for a more delicate flavor, provolone with hot pickles for serious kick, and even a bacon-cheddar version that made my kitchen smell like heaven. The beauty is that you can swap the cheese, the pickle type, or the fillings without changing the technique—it always works.
Storage and Serving Ideas
These are genuinely best eaten fresh and warm, when the cheese still has that beautiful texture. If you do have leftovers, store them in an airtight container and pop them back into a toaster oven for 2–3 minutes to restore some of that crispy magic. They won't be quite as spectacular as the first time, but they're still leagues better than regular bread sandwiches that have gone stale.
- Bring them to lunch in an insulated container if you're eating on the go and can reheat them.
- Make extra cheese-pickle buns ahead and store them separately from fillings so you can assemble quickly when hunger strikes.
- These pair perfectly with a sharp pickle spear, some mustard on the side, or a tangy coleslaw if you want extra crunch and acid.
 Save to Pinterest
 This sandwich has become my go-to proof that you don't need to sacrifice flavor or satisfaction when you're eating lower-carb. It's become the kind of recipe I make again and again, tweaking it slightly each time and always enjoying it more.
Recipe FAQs
- → Can I use a different cheese instead of cheddar?
Yes, Swiss or provolone cheese can be used for a milder or different flavor while still allowing the buns to crisp up nicely.
- → How do I get the cheese buns to hold together?
Bake until the cheese is melted and bubbly at the edges, then allow it to cool for 5 minutes so the buns set and become easy to handle.
- → Are there suggestions to add more crunch?
Adding shredded lettuce or swapping in hot pickles or jalapeños can add extra crunch and a spicy kick.
- → Can this be made vegetarian?
Yes, simply omit deli meats and consider adding tomato or extra veggies for additional flavor and texture.
- → What is the best way to reheat these buns?
Reheating in a toaster oven restores the crispness of the cheese buns effectively without making them soggy.