 Save to Pinterest
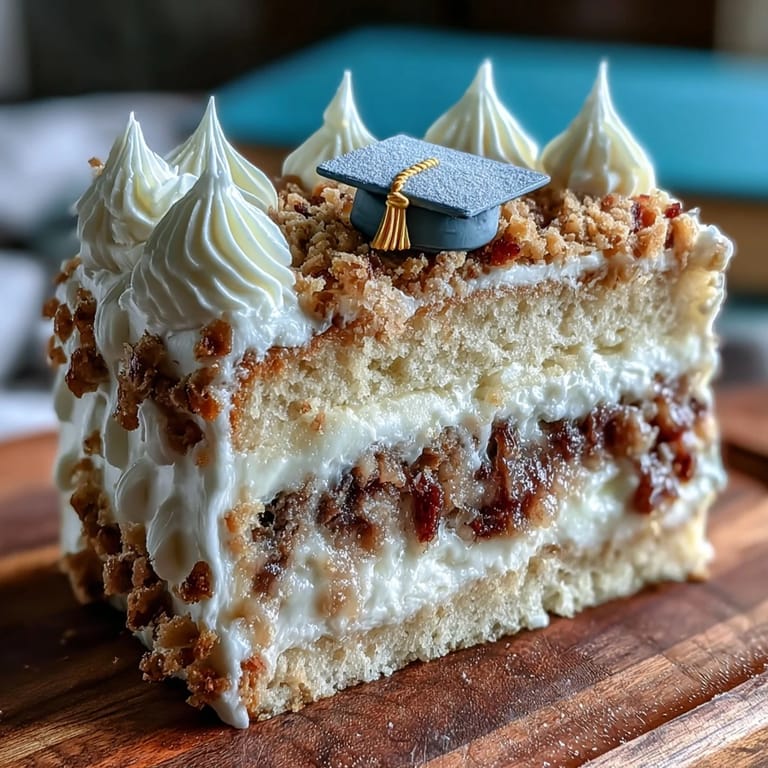
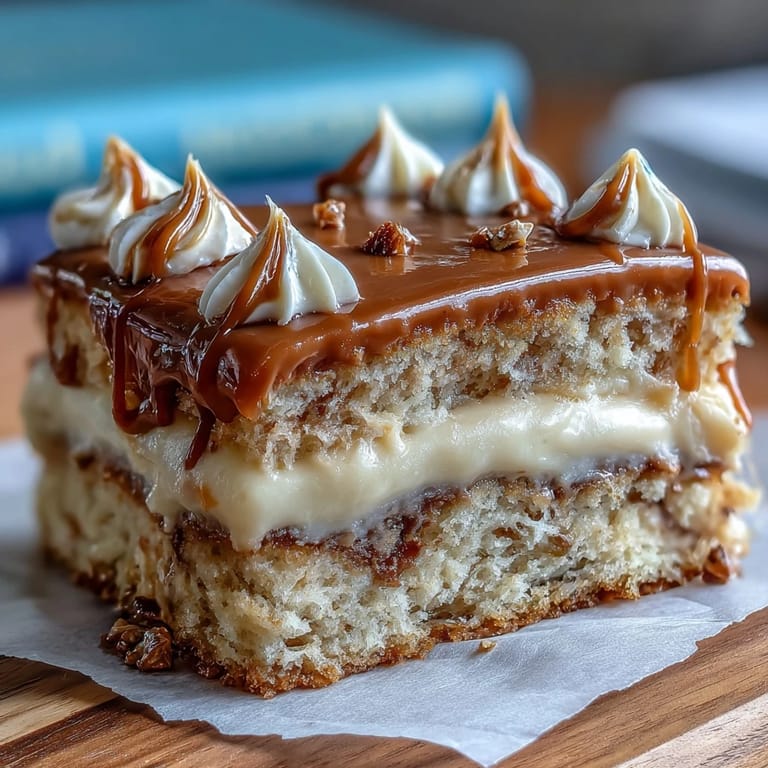
 My hands were shaking a little as I pulled this cake out of the oven, not from nerves about baking, but from the weight of what it represented. There's something about making a graduation cake that shifts the whole kitchen into celebration mode, even before anyone tastes it. The vanilla sponge emerged golden and perfect, and I knew right then that this wasn't just dessert—it was going to be the centerpiece of someone's big moment. The kind of cake that gets remembered alongside the speeches and the photos.
I made this cake the weekend my neighbor's daughter graduated, and watching her eyes light up when she saw the gold foil catching the kitchen light was pure magic. Her mom had wanted something special but not intimidating, and this recipe delivered exactly that. The whole family gathered around while I set that diploma topper in place, and suddenly we weren't just decorating a cake—we were marking a milestone together.
Ingredients
- All-purpose flour (2 ½ cups): The foundation of your tender crumb; make sure it's sifted or whisked together with the baking powder to distribute the leavening evenly.
- Baking powder (2 ½ tsp): This is what gives you that light, airy texture that makes people say it melts in their mouth.
- Salt (½ tsp): A pinch that rounds out the sweetness and deepens the vanilla flavor without tasting salty at all.
- Unsalted butter for cake (1 cup): Softened to room temperature is non-negotiable here; cold butter won't cream properly and you'll lose all that air you're trying to build.
- Granulated sugar (2 cups): This creams with butter to create the structure that keeps your cake tender and helps it bake evenly.
- Eggs (4 large, room temperature): Cold eggs won't incorporate smoothly, so pull them out of the fridge about 30 minutes before you start baking.
- Vanilla extract (1 tbsp for cake): Use real vanilla if you can; the flavor difference in a simple vanilla cake is honestly worth it.
- Whole milk (1 cup, room temperature): The acid in milk works with baking soda and the moisture keeps everything tender.
- Unsalted butter for frosting (1 ½ cups): American-style buttercream demands softened butter; it needs to be almost at the point of being too soft.
- Powdered sugar (5 cups): Sifted is the move here because lumpy frosting is the enemy of that smooth, professional finish.
- Vanilla extract for frosting (2 tsp): Adds warmth without overpowering the sweetness.
- Milk or heavy cream (3–4 tbsp): Add this gradually so you nail the consistency; too stiff and it won't spread, too soft and it'll be soupy.
- Edible gold foil sheets: These are delicate little treasures that transform your cake into something that looks celebratory before anyone even tastes it.
- Diploma topper: Store-bought versions are convenient, but fondant toppers you make yourself carry that personal touch.
Tired of Takeout? 🥡
Get 10 meals you can make faster than delivery arrives. Seriously.
One email. No spam. Unsubscribe anytime.
Instructions
- Prepare your stage:
- Preheat that oven to 350°F and grease both 9-inch pans well, then line them with parchment paper. This double protection means you'll actually be able to get your cakes out without heartbreak.
- Combine your dry ingredients:
- Whisk together the flour, baking powder, and salt in a bowl and set it aside. This distributes the baking powder evenly so you don't get random fluffy spots and dense spots in your finished cake.
- Cream butter and sugar into clouds:
- Beat the softened butter and sugar together for 3 to 4 minutes until it's light, pale, and fluffy. You're literally aerating the mixture, which is what gives your cake that tender crumb.
- Add eggs with intention:
- Add eggs with intention:
- Add eggs one at a time, beating well after each so they fully incorporate. This is where patience pays off—rushing this step means your batter won't hold together as well.
- Build the batter:
- Alternate adding your flour mixture and milk to the butter mixture, starting and ending with flour. Stir just until combined—overworking develops gluten and toughens your cake.
- Fill and bake:
- Divide the batter evenly between pans and smooth the tops. Bake for 28 to 32 minutes until a toothpick inserted in the center comes out clean.
- Cool with patience:
- Let cakes sit in their pans for 10 minutes, then turn them out onto wire racks to cool completely. Rushing this step means warm cake and soft frosting sliding everywhere.
- Whip up your frosting:
- Beat softened butter on high speed for about 3 minutes until it's creamy and pale. Gradually add powdered sugar, then vanilla, salt, and milk until you reach that perfect spreadable consistency.
- Build your layers:
- Level your cooled cakes if the tops domed up, then place one layer on a serving plate. Spread a generous layer of buttercream on top, then set the second layer down gently.
- Apply a crumb coat:
- Frost the entire cake with a thin layer of buttercream, then chill for 30 minutes. This seals in the crumbs so your final frosting layer stays pristine and beautiful.
- Finish with grace:
- Apply your final, smooth layer of frosting with an offset spatula, taking your time to get the sides and top as polished as you can. A turntable makes this easier, but it's doable without one.
- Gold foil with care:
- Using tweezers, carefully apply edible gold foil sheets to your frosted cake where you want that luxurious shimmer. Your hands need to be dry or the foil will stick to you instead of the cake.
- Crown it with celebration:
- Set the diploma topper at the center or one side, add any sprinkles or confetti if you're using them, and give the whole thing one final chill before serving at room temperature.
 Save to Pinterest
 There's a moment right before you slide the diploma topper onto a graduation cake where it all comes together—the vanilla warmth, the golden shine, the anticipation of celebrating someone's achievement. This cake carries that feeling of transition and accomplishment in every bite.
Personalizing Your Graduation Cake
The beauty of this base recipe is how easily it becomes uniquely theirs. You can tint the buttercream with gel food coloring to match school colors—I once did navy blue and gold for a ceremony in autumn, and it looked absolutely stunning. Add ½ teaspoon of almond extract to the cake batter if you want a subtle flavor shift that feels more sophisticated. The diploma topper is where personality really shines; whether it's store-bought or made from tinted fondant with the graduate's name, that detail transforms it from a generic celebration cake to something that says their name.
The Science Behind the Tender Crumb
What makes this vanilla cake stay soft and tender even days later comes down to a few specific choices in the recipe. The milk provides acidity and moisture, the butter provides richness that keeps everything from drying out, and the balance of sugar to flour creates a tender structure without being fragile. When you cream that butter and sugar properly, you're creating thousands of tiny air bubbles that expand in the oven and give you that airy texture. Temperature matters too—cool ingredients that are still room temperature beat cold ones every single time because they incorporate more smoothly and completely.
Frosting Finesse and Gold Leaf Magic
American buttercream is forgiving once you understand it: too thick, add a tablespoon of milk and beat again; too thin, sift in a bit more powdered sugar and beat until it firms up. The key is always adding gradually so you don't overshoot. With the gold foil, less is often more—a few strategic sheets catch the light and feel luxurious without looking overdone. I learned this the hard way by trying to cover the entire cake in gold, which ended up looking garish; now I use it as an accent, maybe on one side or around the base, letting the cream frosting be the star.
- Keep gold foil sheets sealed in their packet until you're ready to use them, as they're sensitive to moisture and air.
- If a piece of foil tears or doesn't stick right, gently peel it off and try again with a fresh sheet rather than trying to smooth a torn piece.
- Edible gold foil is purely decorative and flavorless, so it's really about that visual celebration factor.
 Save to Pinterest
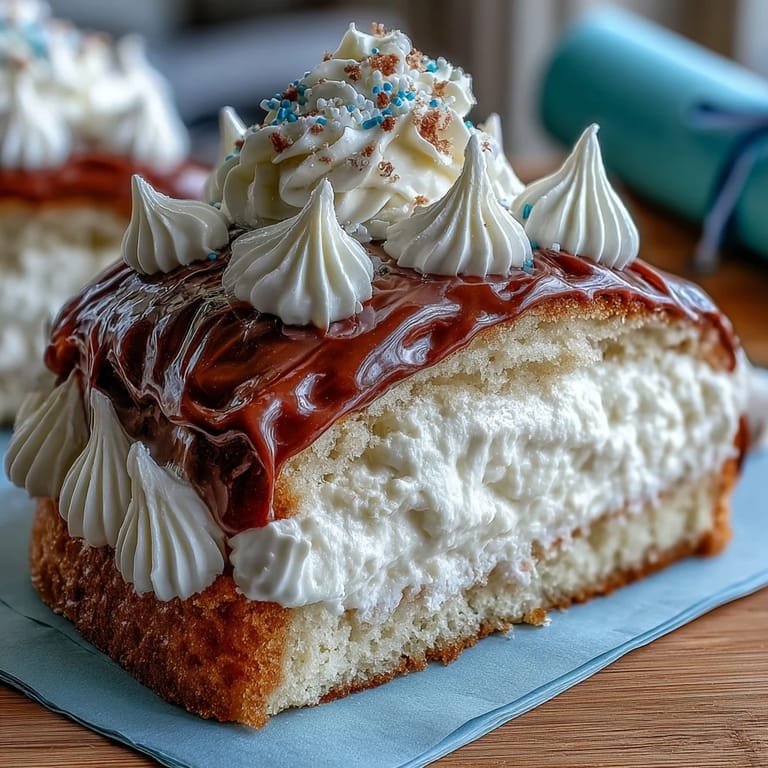
 This cake sits at the intersection of classic and celebratory, simple enough to make without stress but elegant enough to deserve a moment of pause before the first slice. It's the kind of cake that tastes like someone cared.
Recipe FAQs
- → How is the cake batter prepared?
The batter combines flour, baking powder, salt, softened butter, sugar, eggs, vanilla extract, and milk. Ingredients are mixed carefully, alternating dry and wet additions for a smooth texture.
- → What makes the buttercream frosting smooth?
Butter is beaten until pale and creamy before gradually adding powdered sugar, vanilla, salt, and milk to achieve a light, spreadable consistency.
- → How is the gold foil applied without damage?
Using tweezers and dry hands, the delicate edible gold foil is gently placed on the cooled, frosted cake to avoid tearing and maintain a luxurious finish.
- → Can the diploma topper be made edible?
Yes, it can be crafted from fondant with edible markers, allowing a fully edible decoration that complements the cake's theme.
- → What baking tools are essential for this dessert?
Key tools include an electric mixer, two 9-inch round cake pans, mixing bowls, an offset spatula, parchment paper, and tweezers for applying gold foil.