 Save to Pinterest
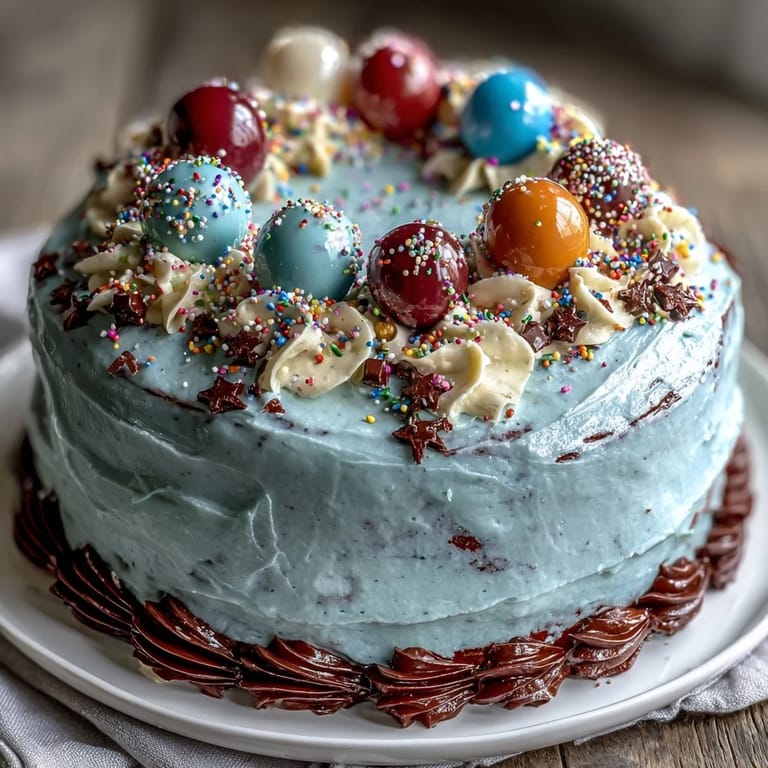
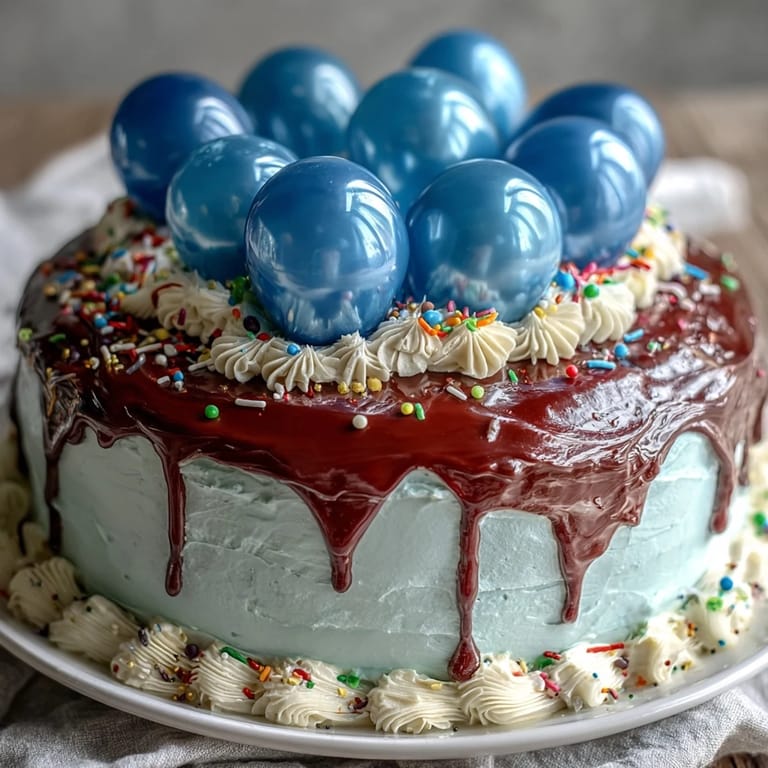
 My cousin texted me the night before her graduation asking if I could make something special, and honestly, I panicked a little. Then it hit me—a two-tier cake with balloon toppers, the kind that screams celebration without trying too hard. I'd watched my mom make tiered cakes for years but never actually attempted one myself, so this was my moment to figure it out. The vanilla sponge turned out so moist and tender that my cousin's friends kept asking for the recipe, which felt like the ultimate compliment.
I'll never forget assembling this cake at my kitchen table on a Saturday afternoon, carefully stacking the smaller tier on top of the larger one while my roommate offered unsolicited advice from the couch. There was this quiet moment right before I added the balloons when I thought, 'Wow, I actually made this,' and it felt bigger than just dessert. Seeing that cake rolled into the party venue and watching everyone's faces light up made every slightly shaky layer worth it.
Ingredients
- All-purpose flour: The backbone of your cake, and room-temperature ingredients matter more than you'd think—they emulsify better and trap air for that light crumb you want.
- Baking powder: Make sure it's fresh and not sitting in your cabinet since last year; old baking powder won't give you the rise you need.
- Unsalted butter: Room temperature is non-negotiable here because cold butter won't cream properly with the sugar, and that creaming step is where you build your structure.
- Large eggs: Also room temperature, and yes, this matters because they blend into the batter smoothly rather than creating pockets of colder egg that won't mix evenly.
- Powdered sugar: Sift it before adding to the buttercream or you'll end up with lumps no amount of beating will fix.
- Whole milk or heavy cream: Heavy cream makes the frosting slightly richer and more stable, which is especially helpful if your kitchen runs warm.
- Gel food coloring: Way better than liquid because it won't thin out your frosting or turn the color muddy.
- Balloon toppers: Store-bought ones save time, but if you're making them, use food-safe sticks and secure the balloons well so they don't drift into the frosting.
Tired of Takeout? 🥡
Get 10 meals you can make faster than delivery arrives. Seriously.
One email. No spam. Unsubscribe anytime.
Instructions
- Prep your pans and get the oven ready:
- Grease and line your 8-inch and 6-inch round pans with parchment paper, then preheat to 350°F. This way everything's ready when your batter is, and you're not scrambling.
- Mix your dry ingredients:
- Whisk flour, baking powder, and salt together in a medium bowl—this distributes the leavening evenly so you don't get dense spots.
- Cream butter and sugar until fluffy:
- This takes 3 to 5 minutes with a mixer and is where you're incorporating air into the batter, which becomes those little bubbles that make your cake light. Stop when it looks pale and cloud-like, not grainy.
- Add eggs one at a time:
- Beat well after each egg so each one fully incorporates before the next goes in; rushing this step means you might end up with an odd texture. The batter should look smooth and creamy, not broken or curdled.
- Alternate wet and dry ingredients:
- Start with flour, then milk, then flour, ending with flour—this prevents overmixing and keeps your cake tender. Mix on low speed and stop as soon as everything is just combined.
- Divide batter between pans:
- Pour equal amounts into the 8-inch pans and 6-inch pans so they bake evenly, then tap the pans gently on the counter a few times to release air bubbles. You want an even crumb, not big holes.
- Bake until golden:
- The 8-inch cakes need 35 to 40 minutes and the 6-inch cakes 25 to 30 minutes; start checking at the lower times with a toothpick. When it comes out clean or with just a few moist crumbs, you're done.
- Cool completely before frosting:
- Leave cakes in their pans for 10 minutes, then turn out onto wire racks; if they're warm when you frost them, the buttercream will melt and slide right off.
- Make your buttercream:
- Beat butter until it's pale and creamy, then gradually add sifted powdered sugar in batches so you don't end up with a powdery cloud in your mixer. Add vanilla, salt, and milk one tablespoon at a time until it spreads smoothly.
- Level and layer your cakes:
- If the cake tops are domed, trim them flat so your layers sit level, then place one 8-inch layer on a cake board, frost it, and top with the second 8-inch layer. Do the same with your 6-inch layers.
- Apply a crumb coat and chill:
- A thin layer of frosting seals in crumbs, then chill for 20 minutes so your final frosting layer goes on smoothly. This step saves you from picking at cake bits with every stroke of your spatula.
- Frost smoothly and stack carefully:
- Frost both tiers with your remaining buttercream using an offset spatula, then center the 6-inch cake on top of the 8-inch tier. Use cake dowels or food-safe straws pushed through the bottom tier for support if you're worried about shifting.
- Add your finishing touches:
- Place balloon toppers where you like them and scatter edible confetti or sprinkles, then step back and admire what you made.
 Save to Pinterest
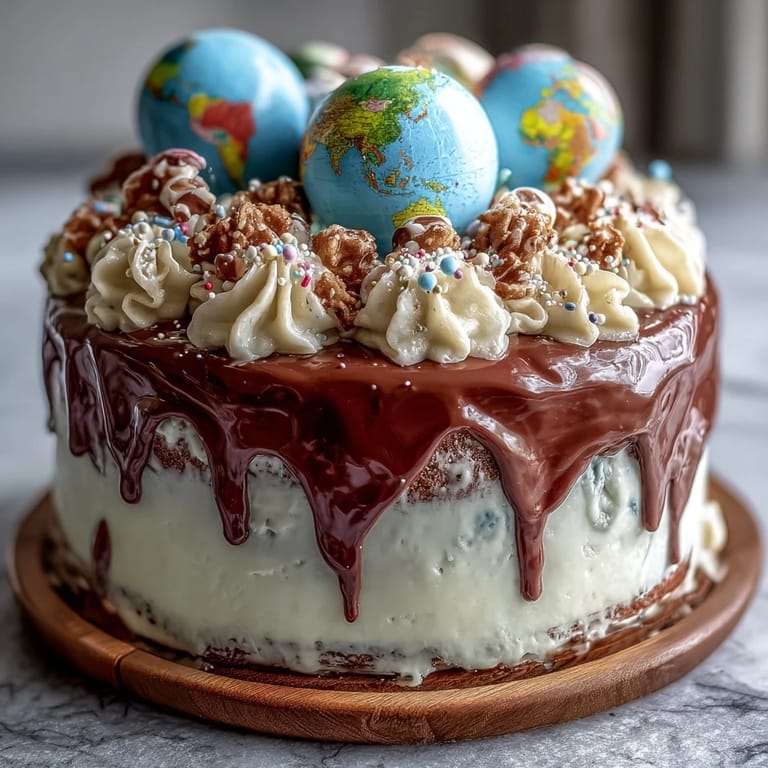
 There's something about baking a cake for someone's milestone that shifts the whole experience from technical to tender. My cousin texted me weeks later saying she'd shown everyone the photos, and people kept asking if I'd gone to cake school. The truth is simpler—I just followed the recipe carefully and didn't let perfection get in the way of something genuinely good.
Room Temperature Ingredients Really Do Matter
I used to ignore this instruction until I made a batch of buttercream with cold butter and ended up with this separated, greasy mess that no amount of beating would fix. Room temperature butter incorporates air and emulsifies properly with the sugar, which is why recipes harp on it. Now I pull my eggs and butter out of the fridge at least an hour before I start, and the difference is instantly noticeable in how smoothly everything comes together.
Getting Your Layers Level
One of my earlier tiered cakes leaned slightly because I didn't trim the domed tops off before stacking, and while it still tasted amazing, I spent the whole party worried it would topple over. A serrated knife or a cake leveler takes two minutes and makes your finished cake look so much more intentional. You can also bake with cake strips wrapped around the pans to prevent doming in the first place, though I've found just trimming to be quicker.
Timing and Make-Ahead Options
You can bake these cakes a day or two ahead and freeze them wrapped well, then thaw them before frosting, which takes so much pressure off on party day. The buttercream keeps for three days in the fridge and actually tastes better once the flavors have melded slightly. The only thing you should do the day of is final assembly and balloon placement, so you're not stressed out in the hours before guests arrive.
- Make the cakes two days before if your fridge and freezer space allow, then assemble the morning of the celebration.
- Store unfrosted cakes wrapped tightly in plastic wrap so they stay moist and don't pick up fridge flavors.
- Buttercream frosting sits happily at room temperature for a few hours after frosting, so don't worry about everything needing to stay cold.
 Save to Pinterest
 Making this cake taught me that celebration desserts don't need to be complicated to feel special—they just need to be made with care and the willingness to learn as you go. Every time I see balloons on top of a cake now, I think of my cousin's smile and remember that sometimes the greatest gift is showing up with something you made yourself.
Recipe FAQs
- → How can I ensure moist vanilla sponge layers?
Use room temperature butter, eggs, and milk to create an even batter. Avoid overmixing once flour is added and bake layers until a toothpick comes out clean but still moist.
- → What is the best way to achieve smooth buttercream frosting?
Beat unsalted butter until creamy before gradually adding sifted powdered sugar, then mix in vanilla and milk or cream for a silky texture. Tint as desired with gel food coloring.
- → How do I stack and support the two cake tiers safely?
Chill crumb-coated layers before frosting to firm them up. Use dowels or straws inserted into the bottom tier to support the weight of the top tier and prevent sliding.
- → Can I customize the balloon toppers for the event?
Yes, balloon toppers can be purchased or homemade using food-safe sticks and mini balloons. Coordinating colors with the event’s theme adds a personalized touch.
- → What alternatives enhance the vanilla sponge flavor?
Adding a splash of lemon or almond extract to the batter enhances flavor without altering texture, creating a unique twist on the classic vanilla sponge.